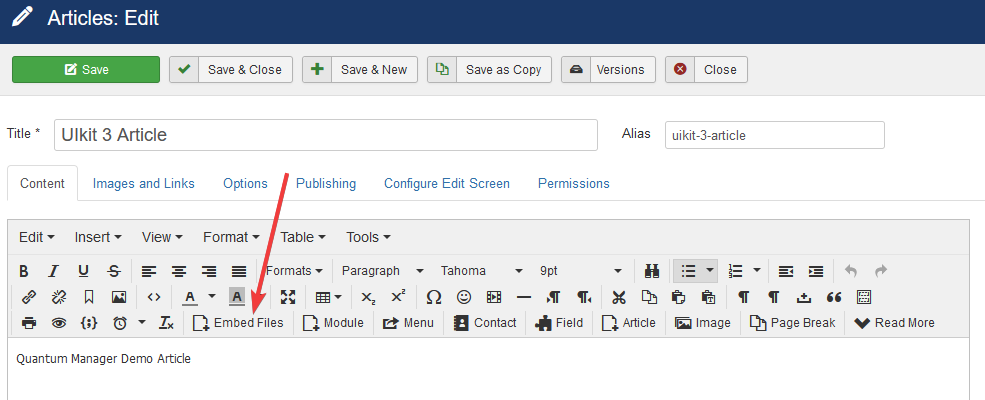
Embed Fiels editor button
Embed Fiels editor button
 ```
You can adjust any template for your needs and create new templates.
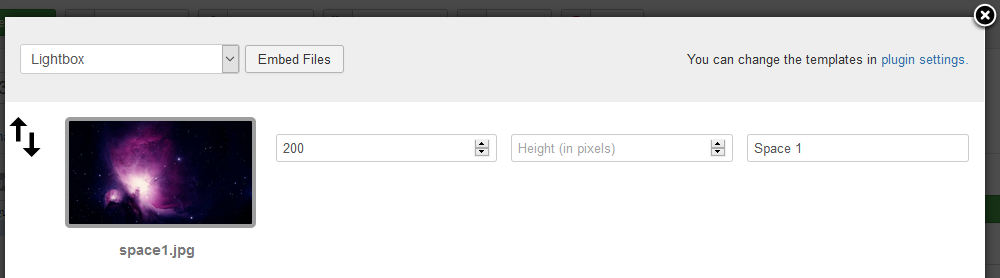
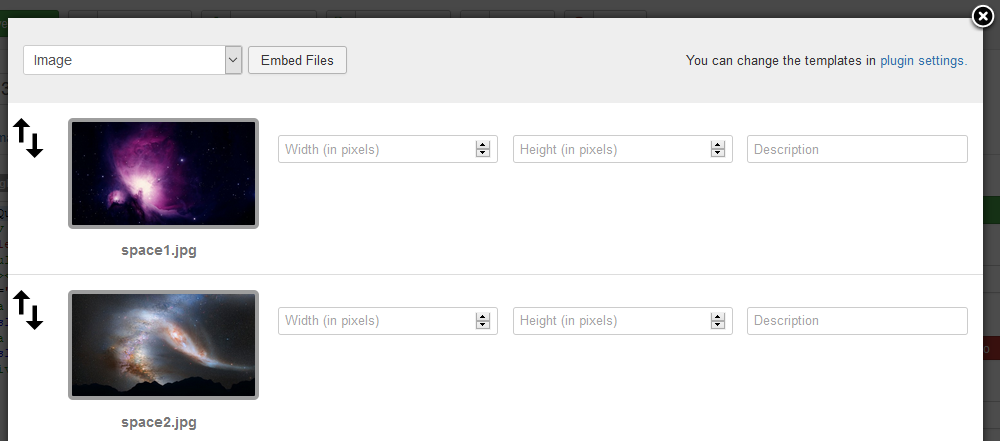
You can also emded multiple files:
```
You can adjust any template for your needs and create new templates.
You can also emded multiple files:
 ```
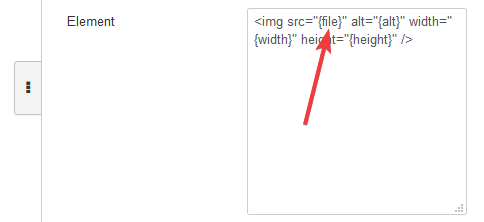
{% hint style="info" %}
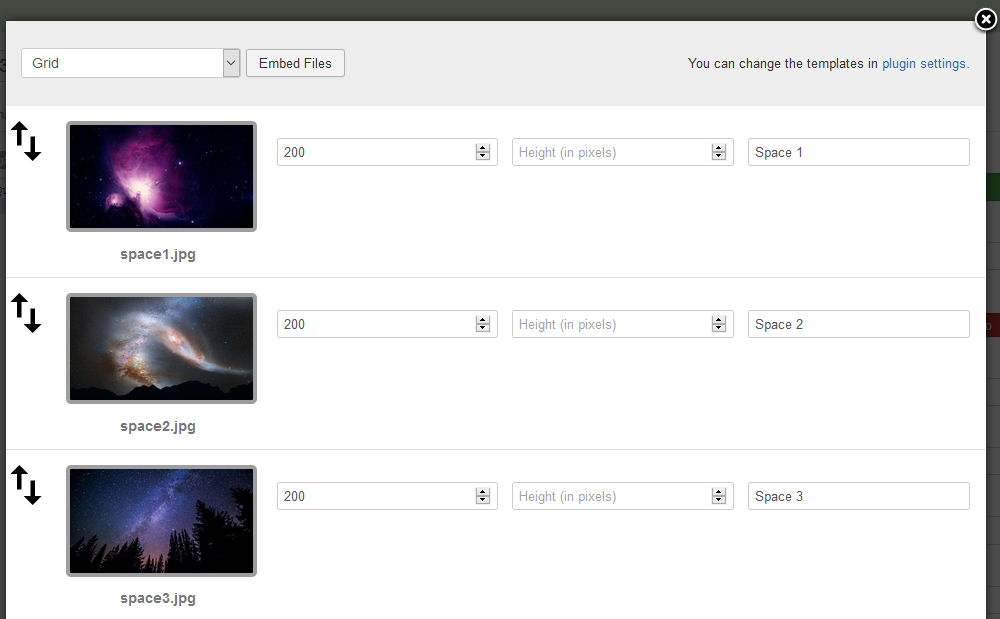
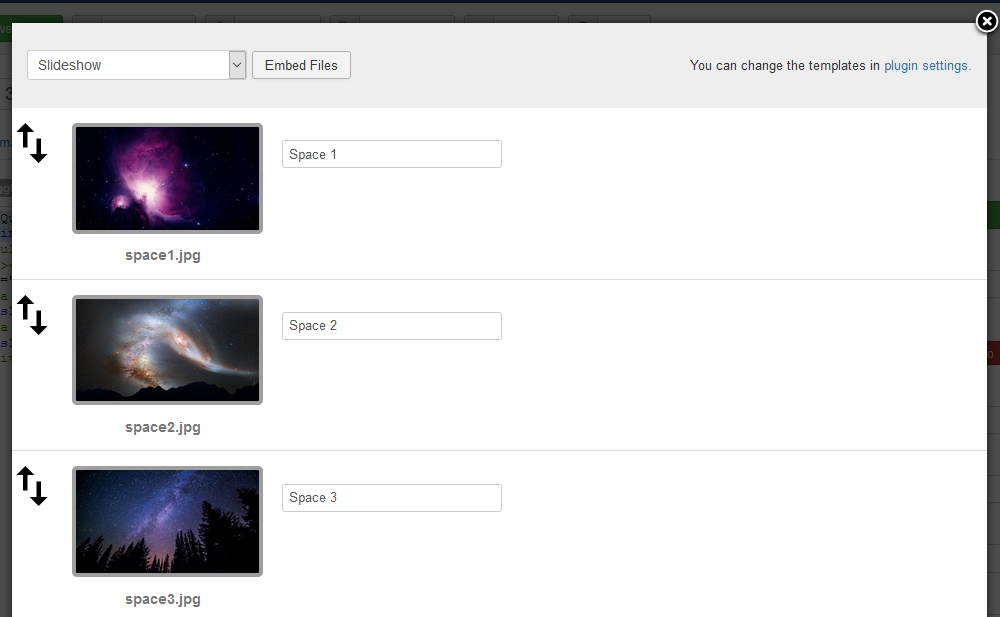
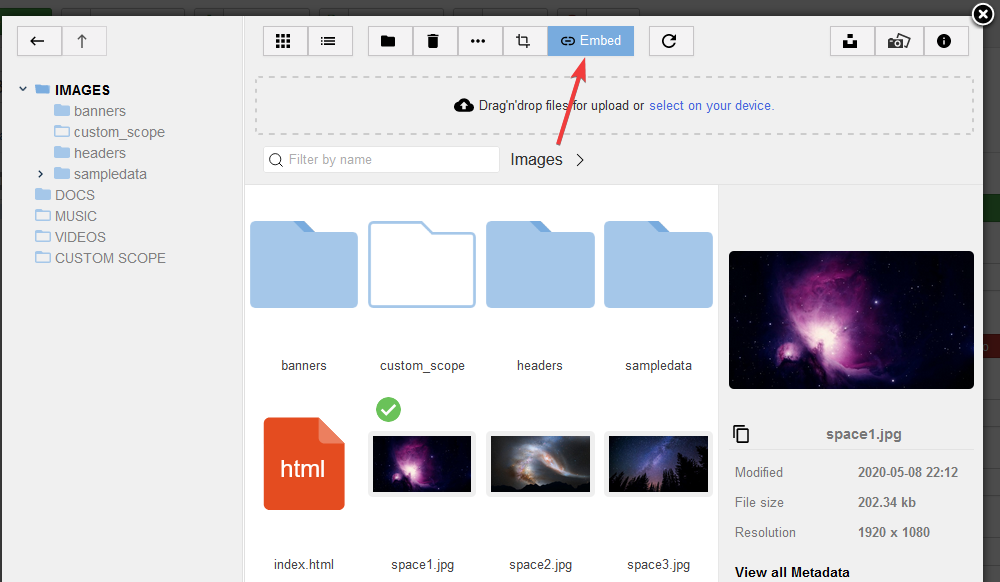
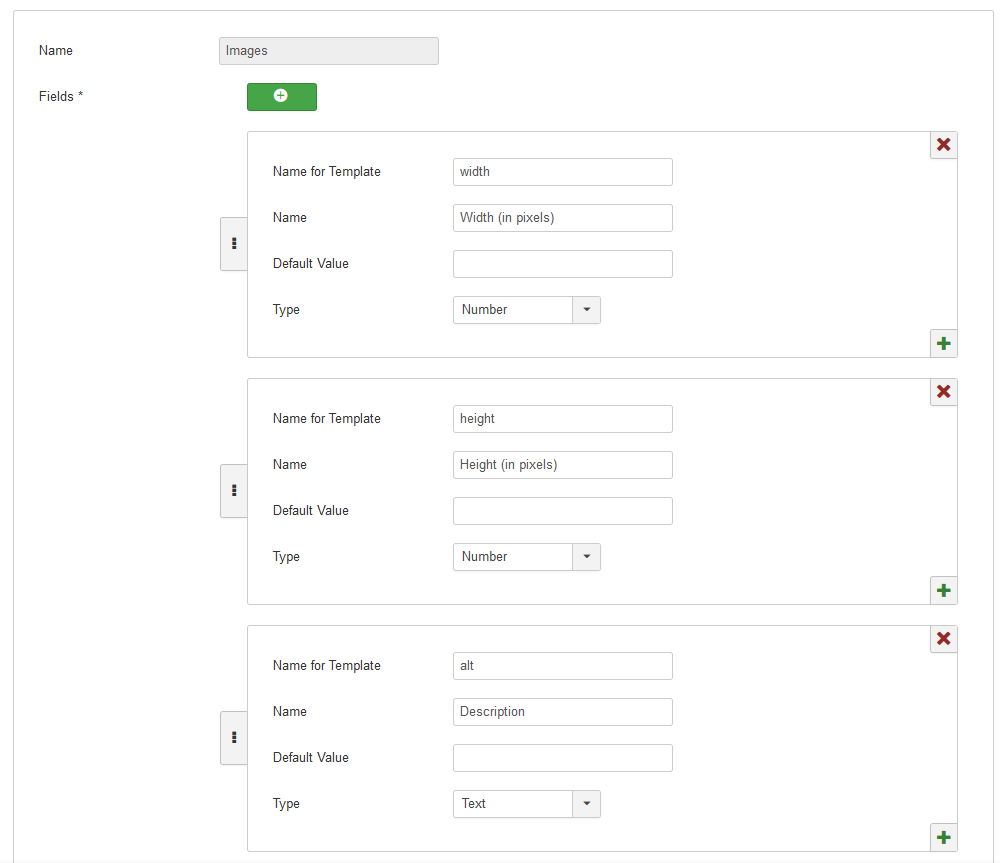
*Element* section is repeated as many times as the number of files is selected for embedding.
{% endhint %}
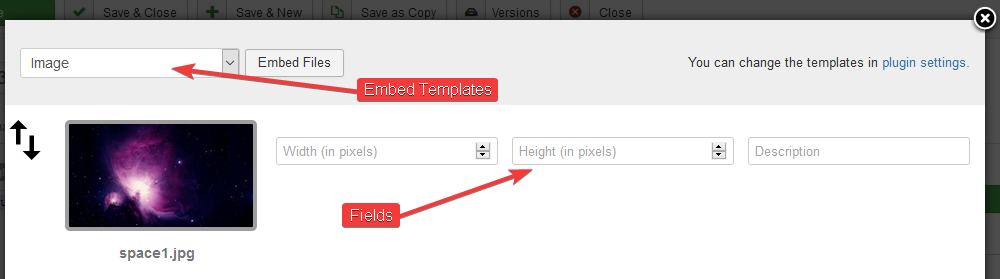
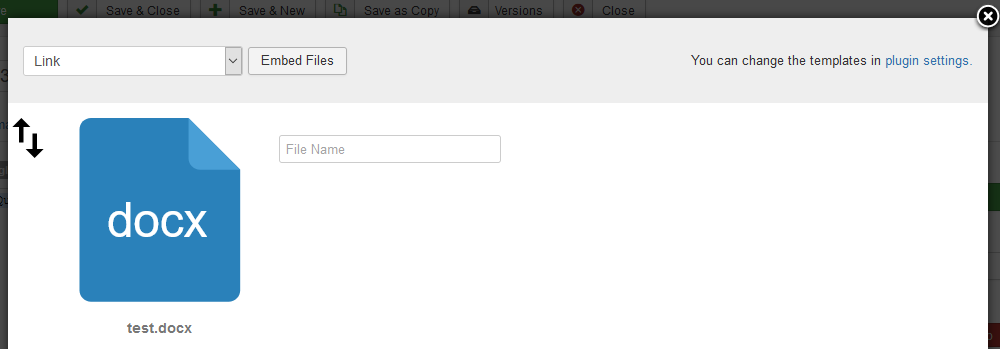
**Before and After Sections**
These sections are used to create more complex embed codes. In *Before* section you define a code that will be displayed before *Element* section and in *After* section you define code that will be displayed after *Element*.
This allow to create templates for elements like grid or slideshow or whatever you want.
There are two ways you can use these sections:
1. Paste your HTML code right into the sections.
2. Use layout files with HTML code.
The first one is easy. The second one is not so easy, but it has own advantages like having piece of HTML code that can be used in the different embed templates (so you do not need to repeat it form template to template). Let's see how to make these layouts and use them in before and after sections.
1. Create two layout files in the following location
`JOOMLA_ROOT/templates/{your_template}/html/layouts/plg_content_quantumanagercontent`:
`before_image.php` with the code:
```html
```
{% hint style="info" %}
*Element* section is repeated as many times as the number of files is selected for embedding.
{% endhint %}
**Before and After Sections**
These sections are used to create more complex embed codes. In *Before* section you define a code that will be displayed before *Element* section and in *After* section you define code that will be displayed after *Element*.
This allow to create templates for elements like grid or slideshow or whatever you want.
There are two ways you can use these sections:
1. Paste your HTML code right into the sections.
2. Use layout files with HTML code.
The first one is easy. The second one is not so easy, but it has own advantages like having piece of HTML code that can be used in the different embed templates (so you do not need to repeat it form template to template). Let's see how to make these layouts and use them in before and after sections.
1. Create two layout files in the following location
`JOOMLA_ROOT/templates/{your_template}/html/layouts/plg_content_quantumanagercontent`:
`before_image.php` with the code:
```html
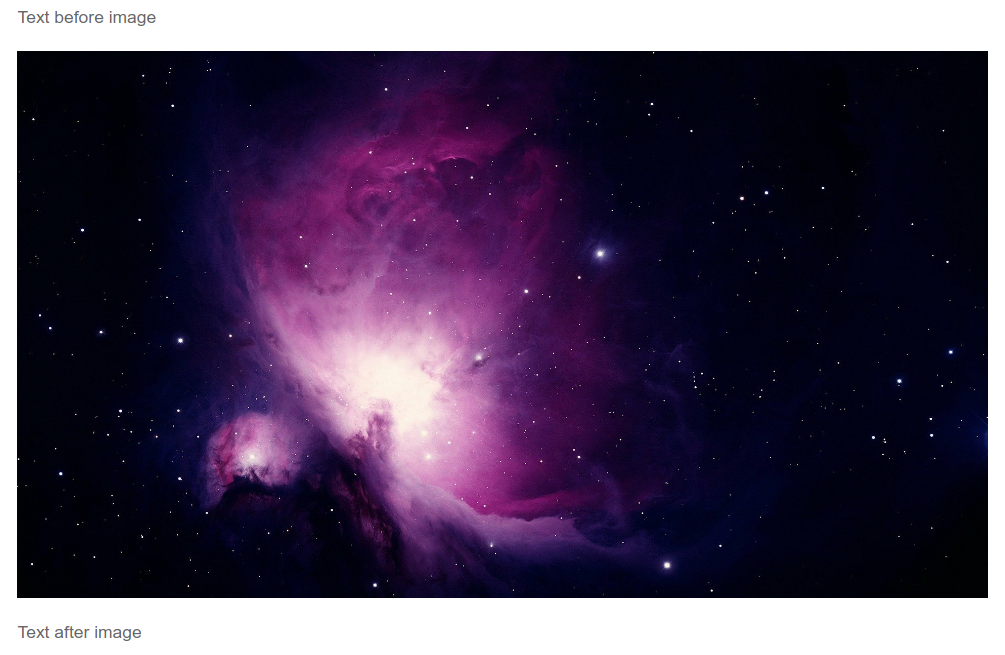
Text before image
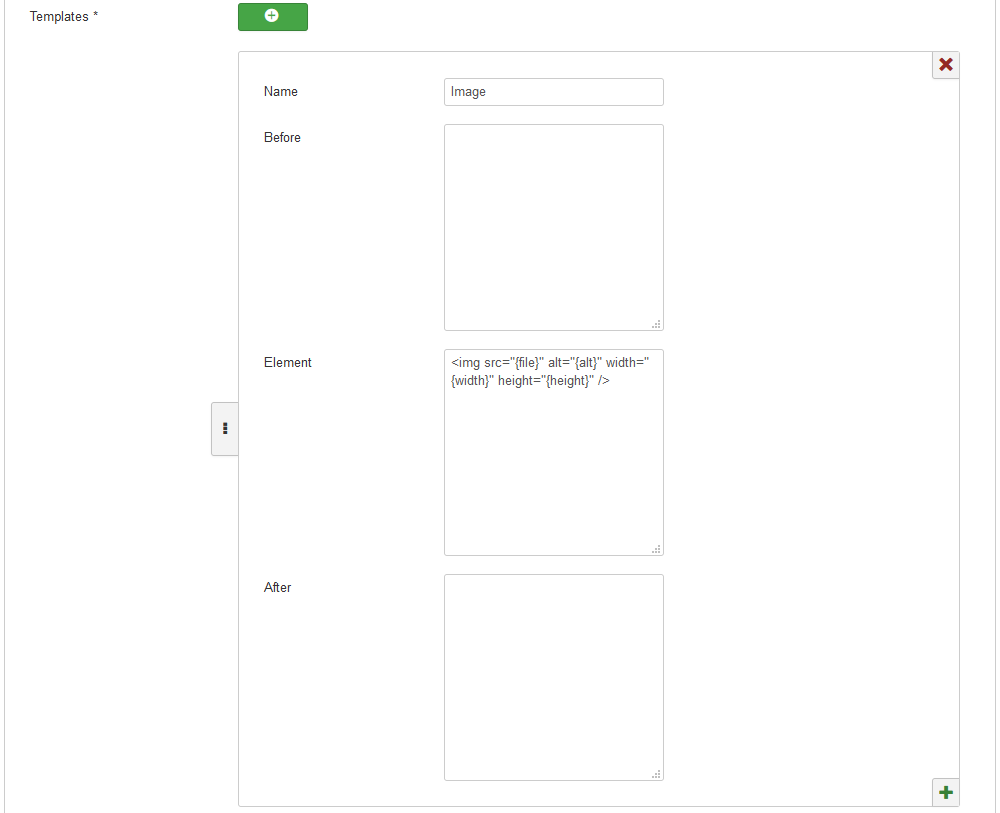
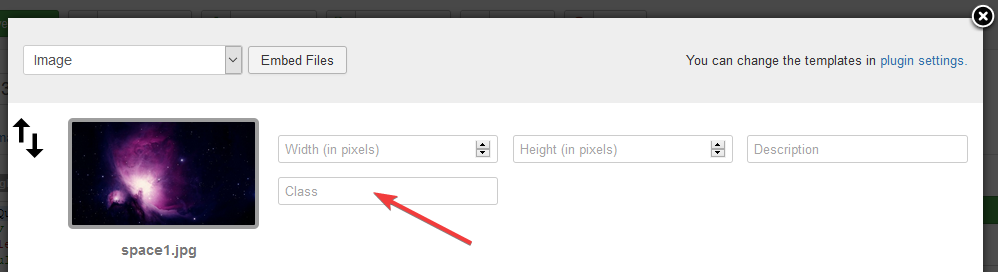
``` `after_image.php` with the code: ```htmlText after image
``` 2. In the *Image* embed template add to *Before* section this text: `{{before_image}}`. And to *After* section add this text: `{{after_image}}`. As you can see to connect the layout file with the section you should use the file name in double curly brackets. 3. That's all. Now try to embed some image and you will see that the following code will be pasted into the article: ```html [qmcontent][before]{{before_image}}[/before][item][variables][{"{file}":"images\/space1.jpg","{filename}":"joomla_black.png","{type}":"png","{size}":"4.86 kb","{width}":"","{height}":"","{alt}":"","{class}":""}][/variables][template]